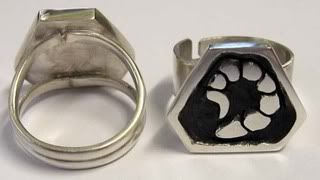
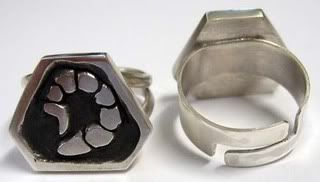
The above photo is taken from the website: http://texadentalsupplies.com/resources/habras_discs1.jpg


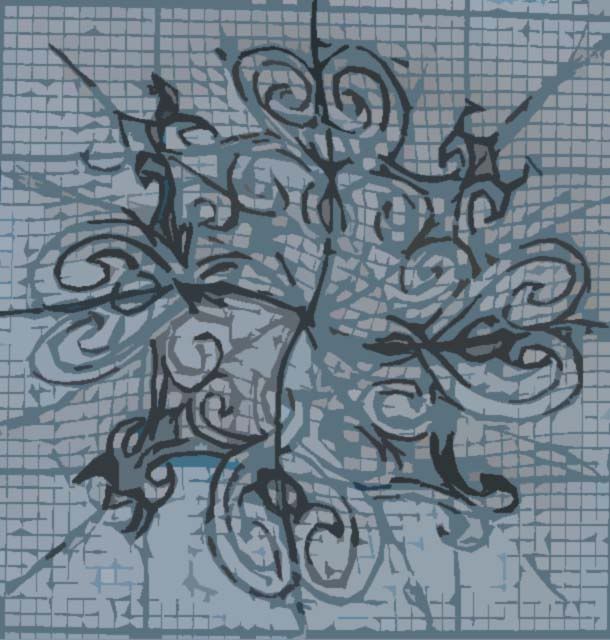
So there are a bunch of us out there that know what the Muse is this year but we aren’t telling or showing! ‘Cause doing that gets you disqualified.
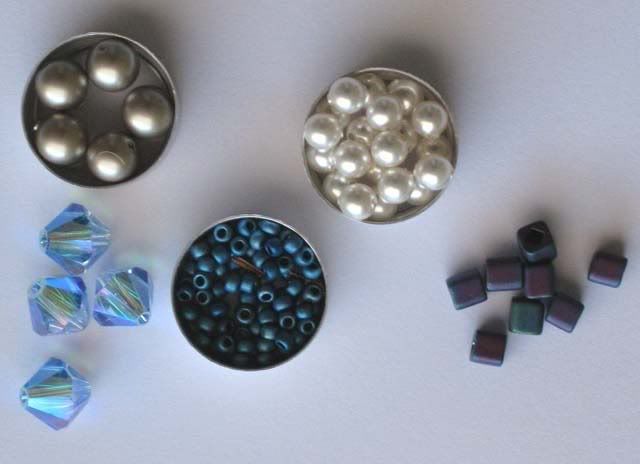
The kits are sponsored this year by Artbeads.com and Rainbows of Light with a gorgeous spectrum of peacock purples, blues and many sparkly Swarovski crystals and pearls. I just couldn’t resist these colours as they are all my favourites so why fight the battle.
When I received my kit in the mail I immediately had to have a fab play – so many possibilities! The Muse truly is stunning but me being me I had to abuse my Muse. The poor thing is lying in pieces trying to recover on my work bench (aka a Tupperware container next to the TV) as I can never leave things alone. So far I have used my coping saw and the DH’s bench drill on the Muse. I like doing things like this though – evil laughter.
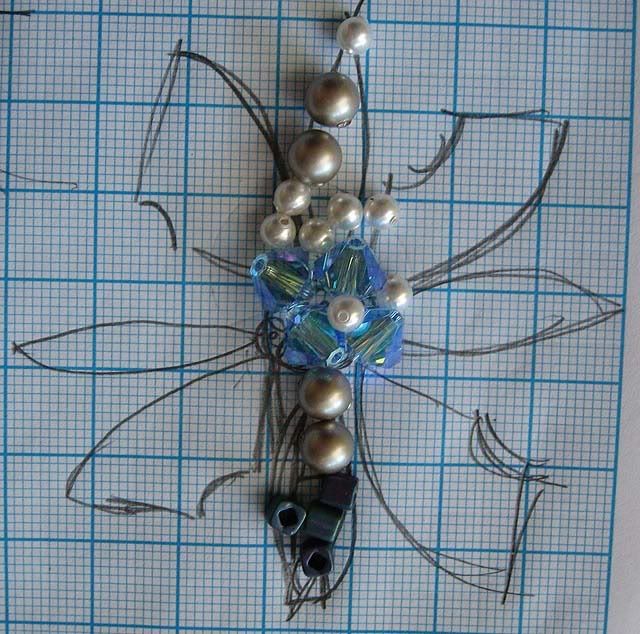
So here are a few sneak peak sketches at what I have in mind. I’m thinking flowers and bugs. I don’t know why but those bugs keep haunting me (time to fumigate our house?) so bugs it is. So far I’m using seed bead embroidery as Right Angle Weave and Brick Stitch have both failed in what I want to achieve. By the end a bug will have a few different weaving techniques including embroidery and odd stitch peyote. Probably a few more too that I just don’t know what they are called.
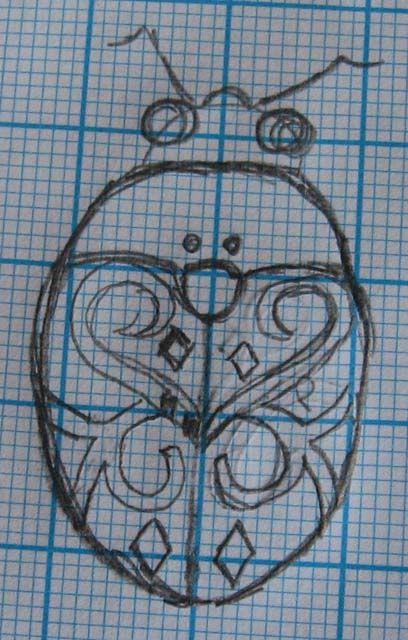
I will also use some wire working skills on a flower, maybe some metal working skills depending on how frustrated I get. Certainly more embroidery and French wire floral techniques too.
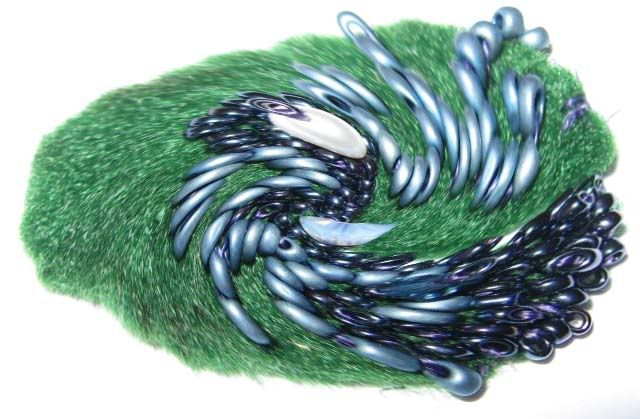
 I was approached via internet by a client to create this fantastic lion pendant in 3d relief sterling silver. The drawing is the client's own art work and created a big challenge for me given that I've usually done my wax carving from my own images. Well away we go!

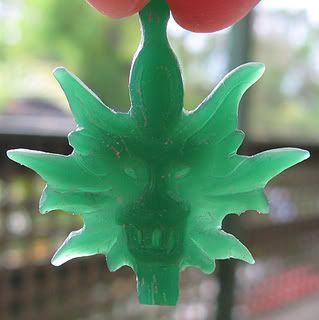
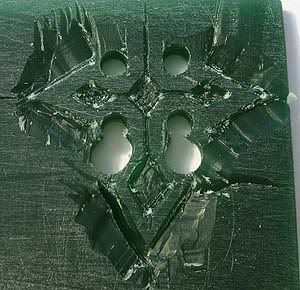 So the next task was to do the cross. Now given how complicated the head is, I was actually dreading the cross more because although it appears simple (all straight lines) I was more apprehensive about this shape because it demanded perfect hand control to achieve symmetry. To create the curves I used the bench drill and various bit sizes and then carved the points after this. I used a lot of line grids to help control the symmetry at this point. It then sat like this for over a month while I tried to figure out how I was going to make the points of the cross at a 45 degree angle meeting on the edge like a V, or a wedge. My technical minded husband gave me a good idea that worked a charm. Use the angled side of a plastic ruler as the slope there is about 45 degrees AND gives me a hard straight edge to use as a template! Eureka! After this point the pendant wax carving process went along very smoothly.
 After getting everything done, I melted the join between the cross and the head to create this final wax carving mold for the casting company. One thing I've learned over the last few projects is that the more I make the wax nice and smooth, the more smooth my casting will be. So I used an old bedsheet to smooth away all scratches.


I'm really pleased with the end results and look forward now to other original works like this one!

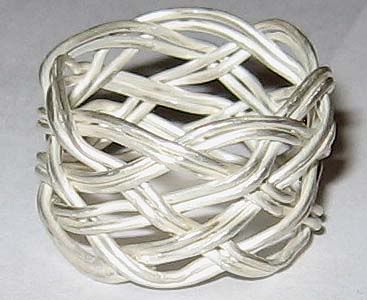
5A. If you will be doing multiple passes around your mandrel, do not use tight tension on your first pass around the knot or this will warp how your second and third passes will sit nicely. Let it be a little loose so that on the second pass there is space above and below your pegs to lay the second row of wire nicely. My ring looks wonky a bit because I pulled way too tight the first pass around the knot (so my second row wants to sit parallel to my first pass, not snugly next to.)How to do the Knot:
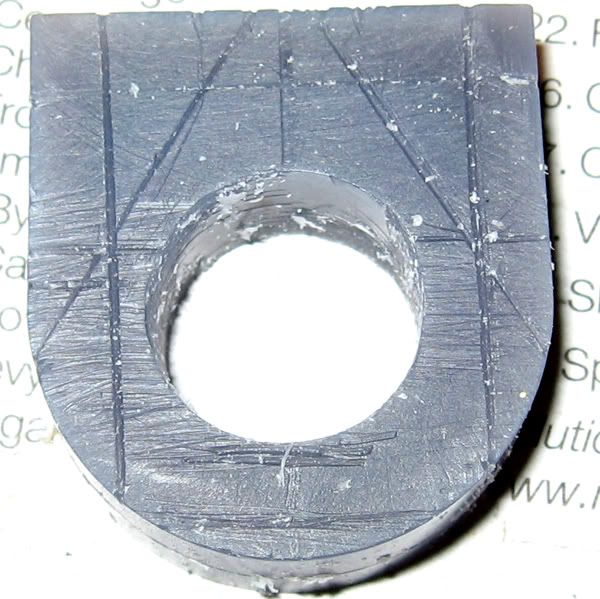 I carefully did a 2D drawing on X and Y axis (ack, I'm actually using some geometry???) 1:1 scale and, when I was finally satisfied with symmetry and size I started transferring the axis marks onto the ring wax form I would carve. I felt like a drafter doing this as I hardly ever actually plan/draw anything out before attacking the jewellery creating process. The hardest part was as I started filing away the parts I didn't want, I still had to re-draw my axis markings as I went to ensure symmetry was maintained.
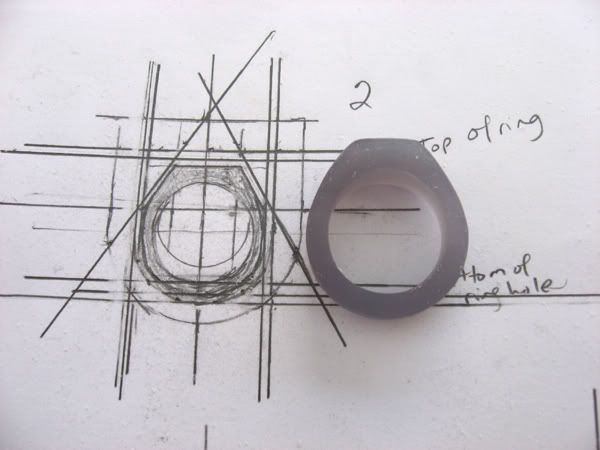 happy with the shape. Using silver working knowledge I filed the wax like I would preparing for final polish - start with the very rough and work down to the finest sand grit. I had to jump down to the workshop downstairs and "borrow" files from the DH (usually forgetting to return them!). I was pretty happy with the end result on both rings. It is a little creepy to see my first major attempt at creating sculpture of any sort actually emerge from the blob of wax!
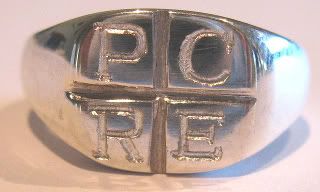
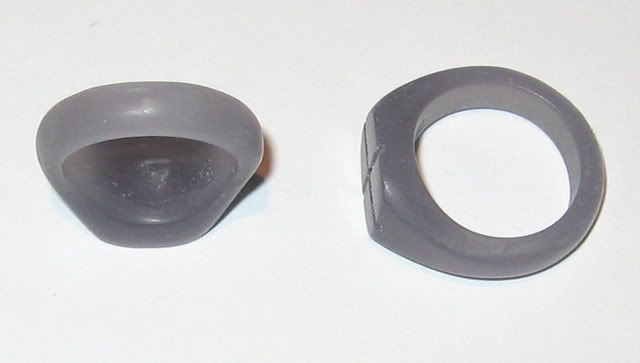 ring top. After consulting with the engraver I had found to do the final letters and then with Chem Gold who would do the wax casting, I decided it was easier for me to put the lines down into the wax rather than sterling silver or pay for the engraver to do it for me. That took quite a bit of doing to get the channels smooth as I did not have needle files yet, only a wax scalpel pack.
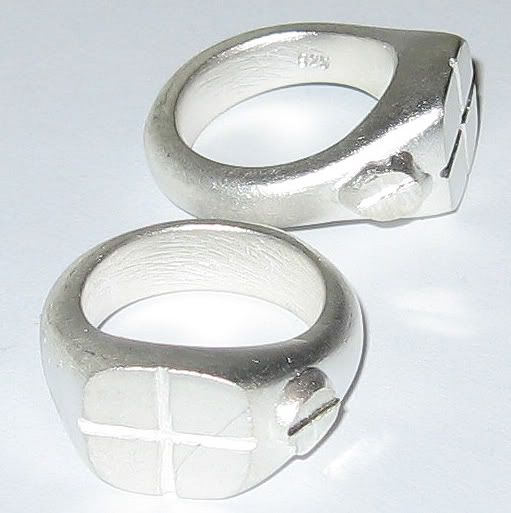 beautiful! This may seem like complaining but it's astounding how exact the lost wax casting technique is transferring detail from the wax to the final product. Any future ring I will definitely spend more time sanding the wax mould to a high shine! The rings had burrs I needed to file off but they were splendid - I had not known what to expect and was very pleased to say the least. I had to work on the ring insides to get the size right (I had worried about the shrinkage and kept the rings thicker than necessary to compensate) so again borrowed the DH's half round file for quite some time to resize the rings.
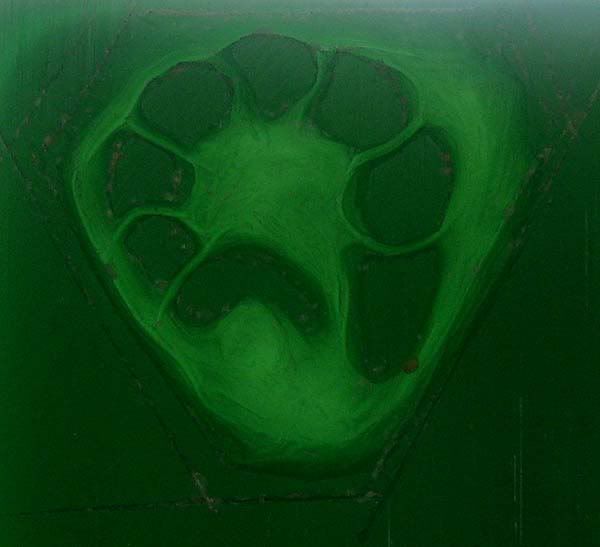 So after receiving my multi-pack of wax tablets, I first photographed my original doodle and then inserted it into word multiple times in different scale sizes. Then after printing it out I figured out the particular size/scale needed and cut out the scorpion segment shapes with really small scissors. After taping the little picture onto the wax I used a pin to lightly score the scorpion tail segments and the shield shape. Then it was a process of carving away the bits I didn't need while trying to protect the segments. I found that I ended up using the half round tapered needle file the most for this project. Here is what I came up with in the wax against a bright light. It's a good way to see if you are carving the relief the same thickness I've found as thicker will show as darker green. I left the recessed areas rather rough in texture on purpose. All up I would say I spent about 5 hours creating this wax mould.